
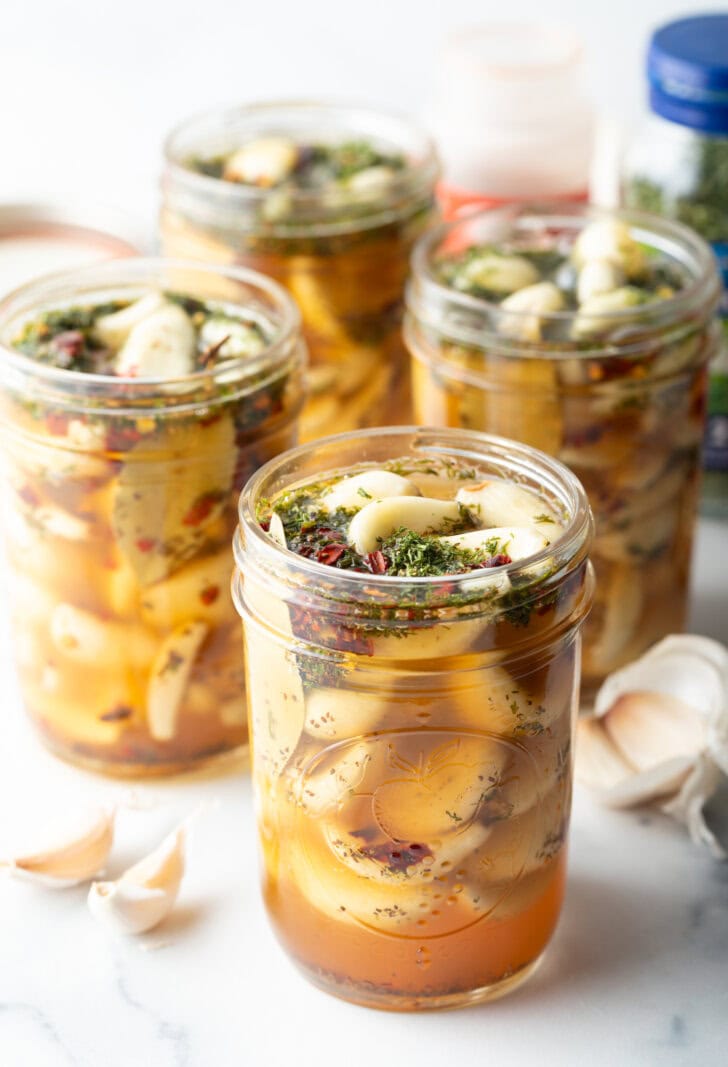
Pickled Garlic (Preserved)
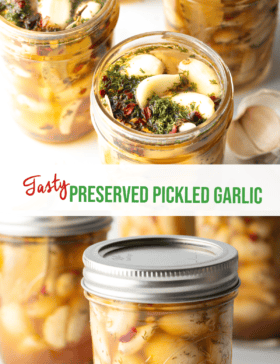
How to Preserve Garlic – This classic quick refrigerator pickles recipe makes the most tangy and bold pickled garlic in just four easy steps. They’re perfect to keep in the fridge for snacking or adding to all kinds of savory dishes!
Why We Love This Homemade Pickled Garlic Recipe
If you’ve got lots of garlic growing in your garden this season, you’ve got a great opportunity to quick pickle jars of Preserved Garlic for later use!
Why pickle garlic? There are lots of reasons! Pickling garlic gives it a longer life so you can save your fresh cloves, infusing them with extra flavor, then use them later. Pickling also desensitizes the garlic so that you can eat it raw. Best of all, the process removes the vast majority of odor and sharp bite from the garlic cloves, so there’s less of a worry of bad breath for days.
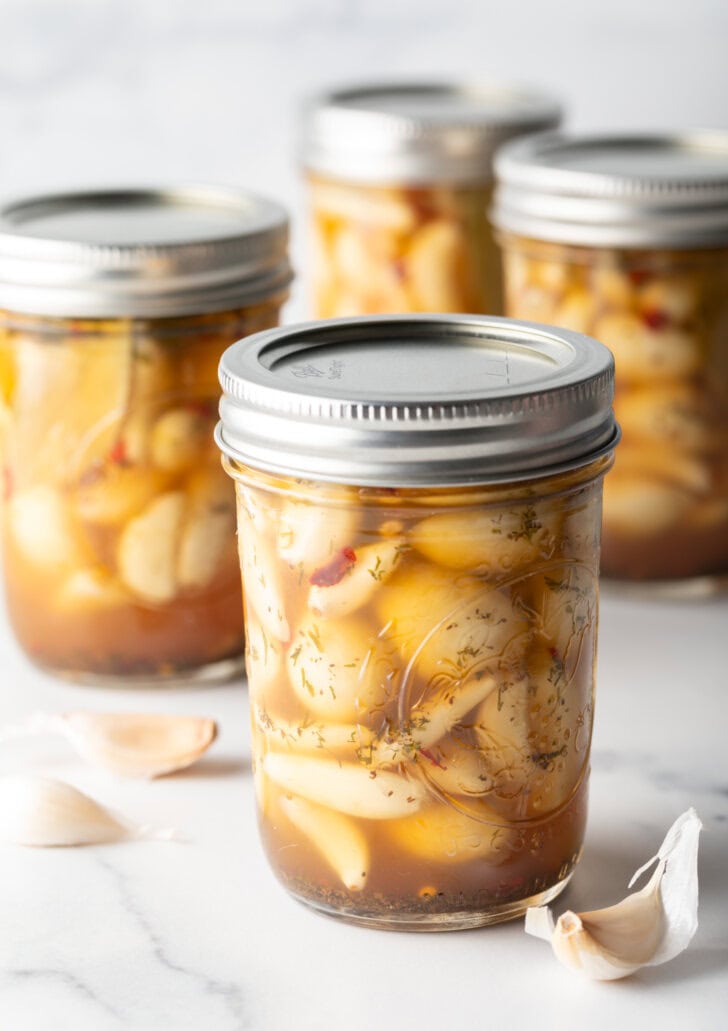
Note: Here we’re making refrigerator garlic pickles with 1 ½ to 2 pounds of garlic, which equals about four 8-ounce jars. These jars can be kept in the refrigerator for 9-12 months. However, according to the USDA you should not to try to can garlic cloves to be shelf stable. Keep them in the fridge!
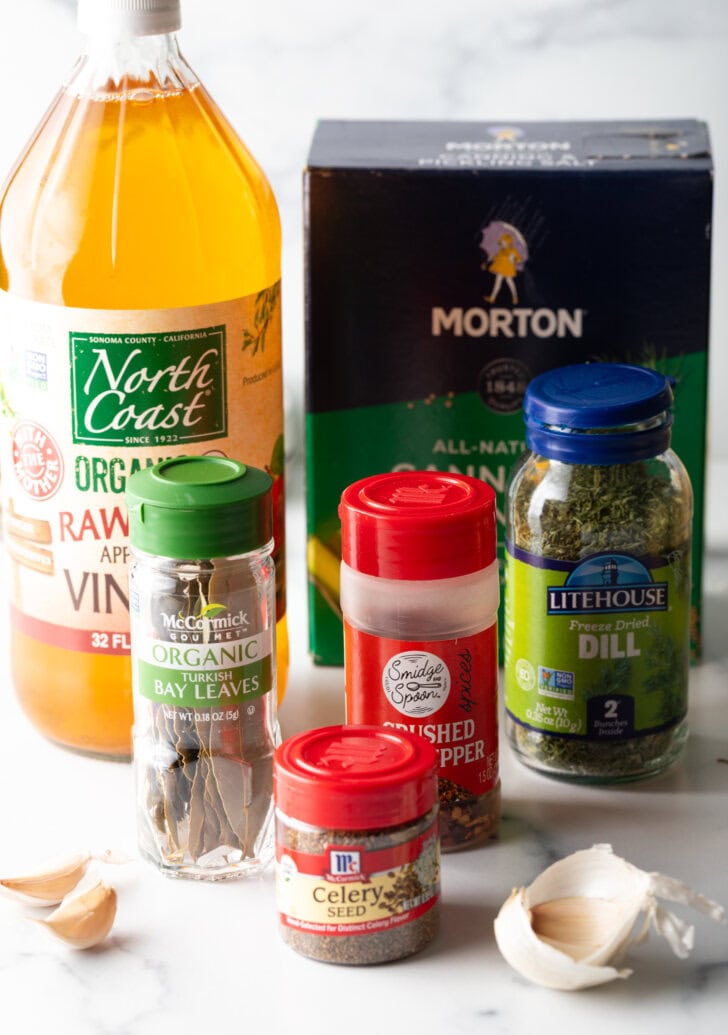
Ingredients You Need
- Fresh garlic heads – 1.5-2 lbs of garlic should be roughly 15-30 heads
- Apple cider vinegar – (or white wine vinegar or rice vinegar) for a lightly sweet vinegar that isn’t as sharp as white vinegar
- Canning & pickling salt – or any salt that is iodine-free
- Bay leaves – not to be eaten
- Dill – fresh or dried are both fine
- Celery seeds – mellows the garlic
- Crushed red pepper flakes – optional for a nice kick of spicy heat
How to Preserve Garlic
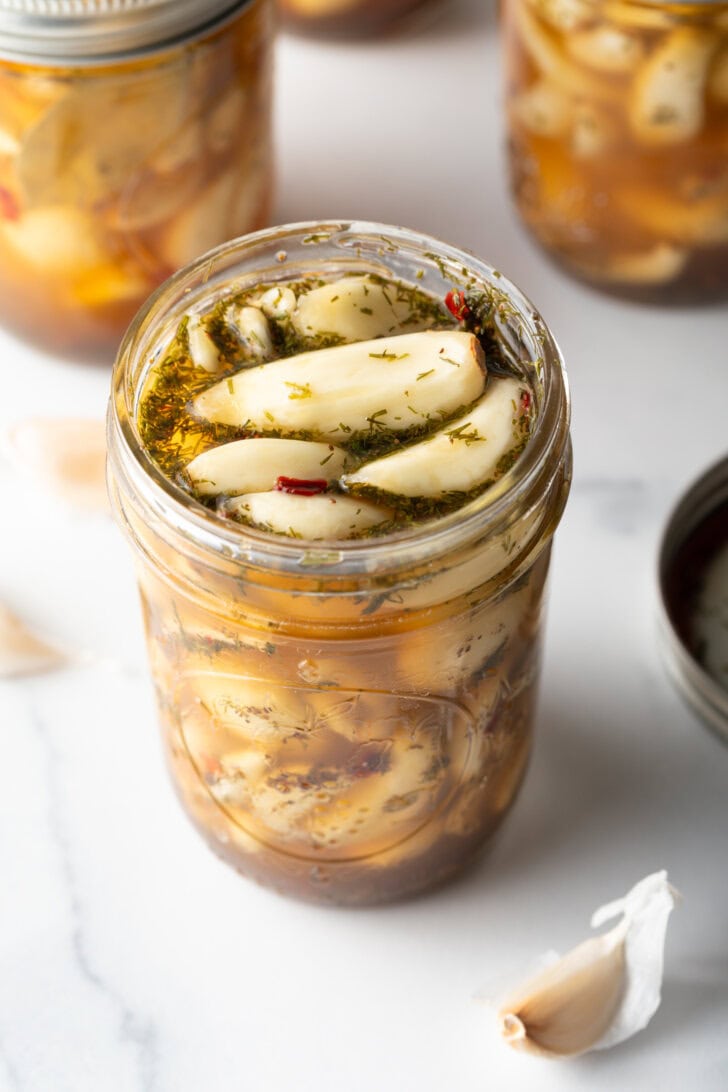
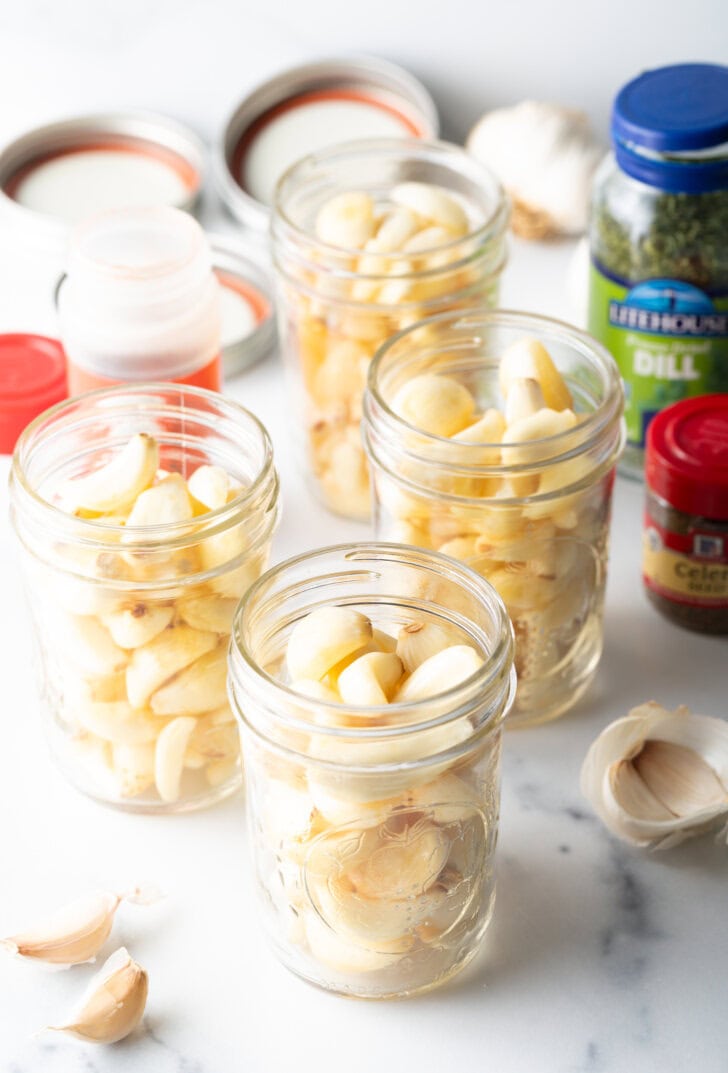
Set out four sanitized 8-ounce canning jars (AKA half-pint jars). Separate the heads of garlic and peel all the cloves. Then stuff the clean peeled garlic cloves into the canning jars.
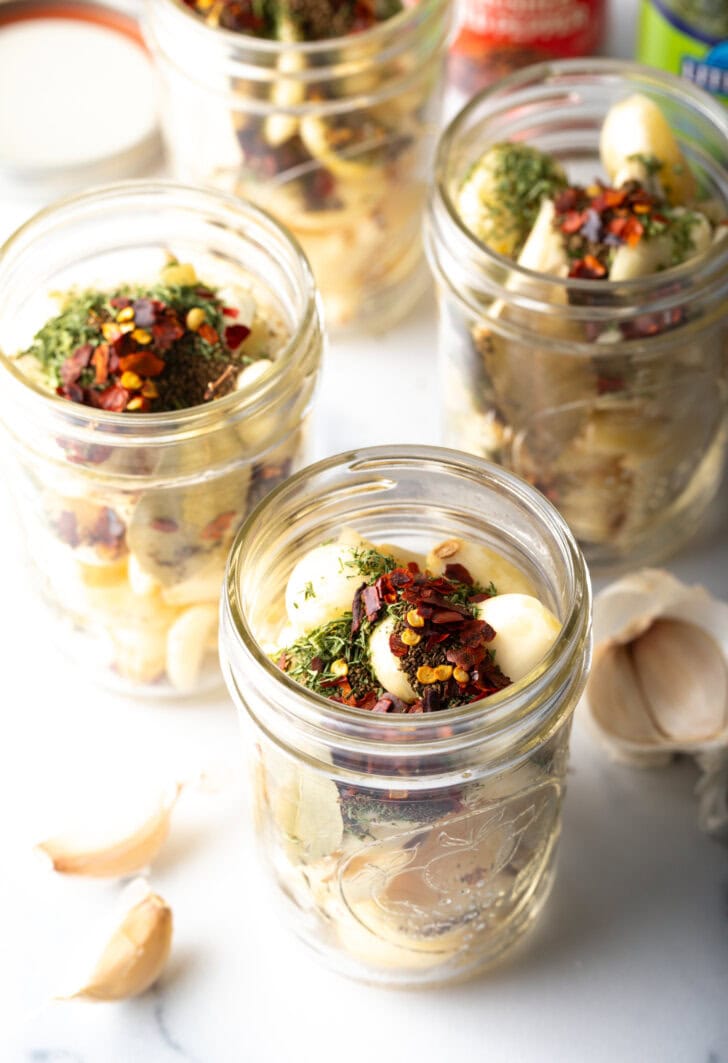
To each jar, add one bay leaf, ½ teaspoon of dried dill, ¼ teaspoon of celery seeds, and ¼ teaspoon of crushed red pepper.
Get the Complete (Printable) Preserved Garlic Recipe Below. Enjoy!
Set a medium saucepan on high heat. Pour in the apple cider vinegar, and pickling salt into the pot. Bring to a boil.
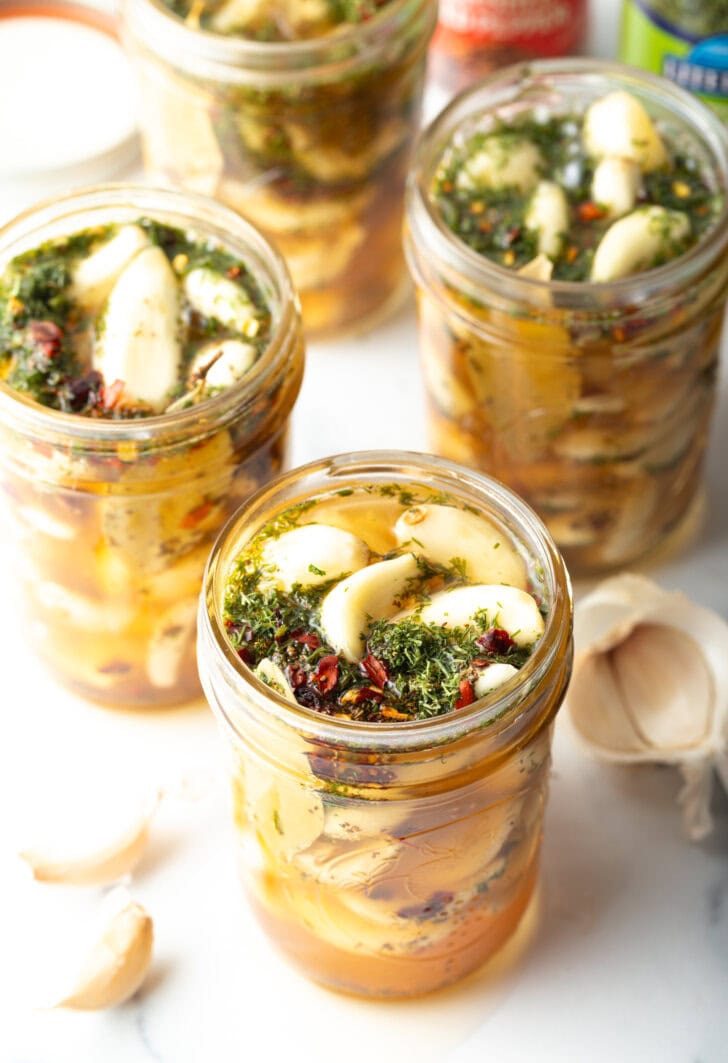
Once boiling, carefully ladle the boiling-hot pickling brine over the top of the canning jars. Fill the canning jars up to ½-inch headspace from the top.
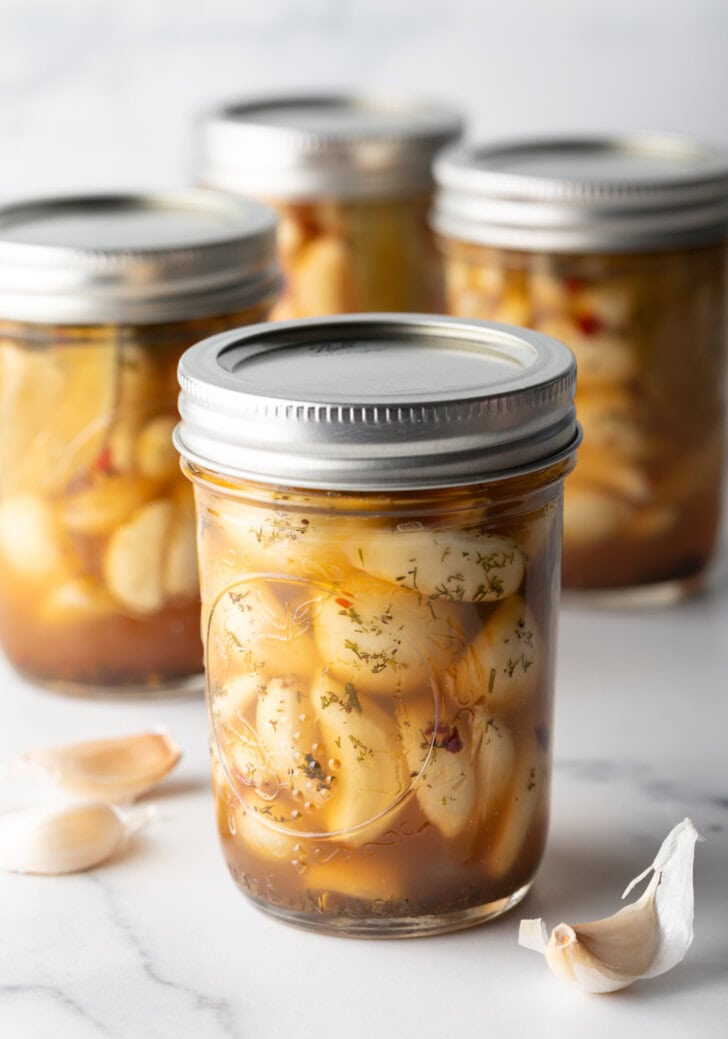
While the jars are hot, screw the lids on tight. Cool to room temperature and then store in the refrigerator for at least 48 hours before serving.
This allows time for the garlic cloves to start desensitizing. The longer they sit in the pickling brine, the more mellow they become!
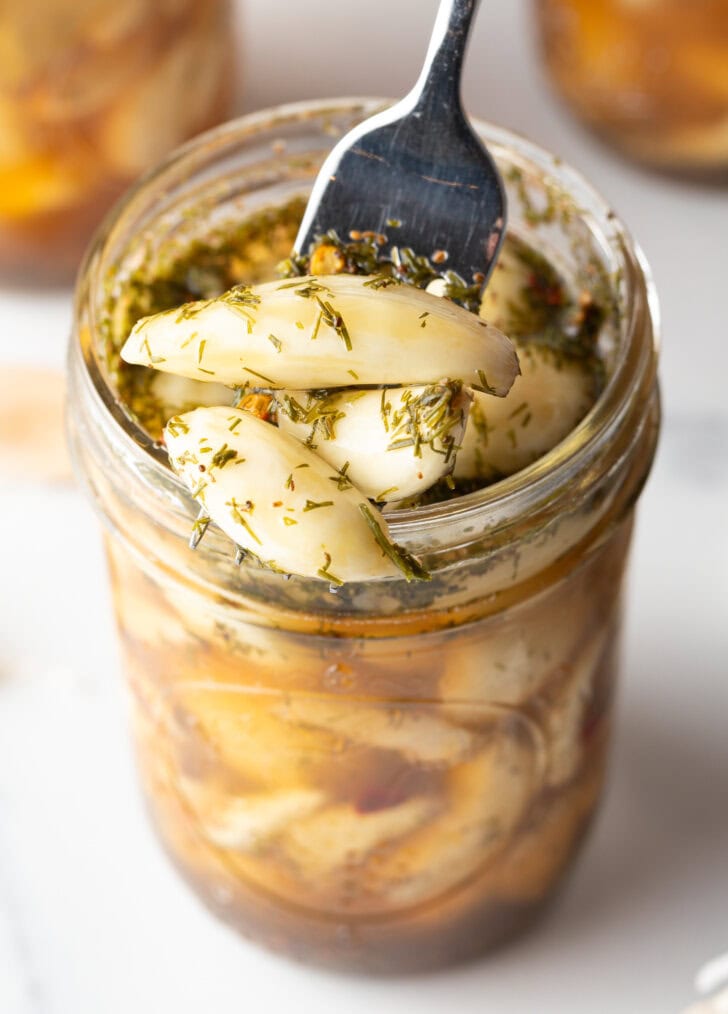
How to Use Pickled Garlic
How do you use pickled garlic cloves? You can use pickled garlic cloves as you would use any other pickled item!
Eat them cold right out of the jar, or incorporate them into all kinds of other tasty dishes. Here are just a few of our favorite ways to use preserved garlic…
- Load them onto sandwiches, wraps, and pizzas
- Add to salads like antipasto salad, farro salad, or pasta salad
- Include them on charcuterie boards or snack plates
- Add onto grain and/or protein bowls
Or, you can also chop and cook them as you would fresh garlic cloves, so they can go in any recipe you like!
Frequently Asked Questions
They are different experiences… Fresh garlic is hard and crisp, with a strong bite of earthy flavor. Pickled garlic, on the other hand, is slightly softer and has more of a tangy herby taste.
If you want to make sure the garlic cloves are VERY mellow, you can place them in the boiling brine on the stovetop and boil them for 5 minutes. Then ladle the cloves and brine into the jars.
Absolutely, and it is SO good! One serving is roughly 2-3 tablespoons.
Store jars of pickled garlic in the fridge for up to 12 months.
Looking for More Perfectly Pickle Recipes? Be Sure to Try:
- Quick Pickled Jalapeños
- Spicy Beet Pickled Eggs
- Pickled Green Tomatoes
- Quick Pickled Red Onions
- Pickled Watermelon Rind
Pickled Garlic (Preserved Garlic)
Ingredients
- 1 ½ – 1 ¾ pounds fresh garlic heads peeled and separated into cloves
- 32 ounces apple cider vinegar
- ¼ cup canning & pickling salt iodine free salt
- 4 bay leaves
- 2 teaspoons dried dill or 2 tablespoons fresh dill
- 1 teaspoon celery seeds
- 1 teaspoon crushed red pepper flakes
Instructions
- Set out four sanitized 8-ounce canning jars. Separate the heads of garlic and peel all the cloves. Then stuff the clean cloves into the canning jars.
- To each jar, add one bay leaf, ½ teaspoon of dried dill, ¼ teaspoon of celery seeds, and ¼ teaspoon of crushed red pepper.
- Set a medium sauce pot on high heat. Pour in the apple cider vinegar, and pickling salt into the pot. Bring to a boil.
- Once boiling, carefully ladle the boiling-hot pickling brine over the top of the canning jars. Fill the canning jars up to ½ inch from the top.
- While the jars are hot, screw the lids on tight. Cool to room temperature and then store in the refrigerator for at least 48 hours before serving. This allows time for the garlic cloves to start desensitizing. The longer they sit in the pickling brine, the more mellow they become!
This Pickled Garlic (Preserved) is a great recipe! I’ve made some preserves following the instructions here and it was delicious! Glad to have this recipe handy!
I made these and put them in a wrap I made and it added so much flavor.
loved making these! So great to have on hand, and has so much flavor packed in it!