
Quick Garlic Knots
Quick Garlic Knots Recipe – Soft, buttery, and bursting with garlic flavor, these homemade garlic knots are the ultimate crowd-pleaser! Whether you’re serving them as an appetizer, a side dish for your favorite pasta, or just a snack to satisfy your carb cravings, these golden, pillowy knots never disappoint.
Why We Love These Homemade Garlic Knots
We love this easy recipe because it delivers soft, fluffy garlic knots from scratch in just one hour—yes, you read that right! Homemade bread in such a short time feels like a miracle, especially when the results taste like you spent hours kneading and letting the dough rise. The rich aroma of fresh bread paired with buttery garlic herb goodness is pure magic, and these knots are the perfect way to impress your family or guests without spending all day in the kitchen.
The secret lies in speeding up each step just a bit, like fudging the kneading and rise times without sacrificing flavor or texture. Despite the shortcuts, these knots come out tender, yeasty, and golden, with each bite dripping in savory garlic butter. Plus, if you’re lucky enough to have double ovens, you can shave off even more time! Whether you’re new to bread-making or a seasoned pro, this recipe is a must-try for quick, homemade comfort food.
Ingredients You Need
- All-purpose flour – bread flour can also be used, or gluten-free flour for a GF version
- Whole milk – scalded
- Unsalted butter – or olive oil
- Sugar – or honey
- Dry active yeast – instant yeast also works great
- Spices – sea salt, garlic, Italian seasoning
- Parmesan cheese – grated
How To Make Garlic Knots
- Preheat the oven to 180 degrees F. Line two baking sheets with parchment paper or a silicone mat and set aside.
- Place the milk in a small saucepan over high heat and bring it to a boil. (You could also microwave the milk for 2-3 minutes to boil.) Pour the milk into the large bowl of an electric mixer, then add 1/2 cup (1 stick) of butter to the hot milk and stir until it melts.
- Add the sugar, 1 cup flour, and 1/2 cup ice cold water to the mixing bowl. Stir and touch the mixture for temperature. It should now be just slightly above room temperature so as to not kill the yeast. Stir in the yeast and let it foam for 5 minutes.
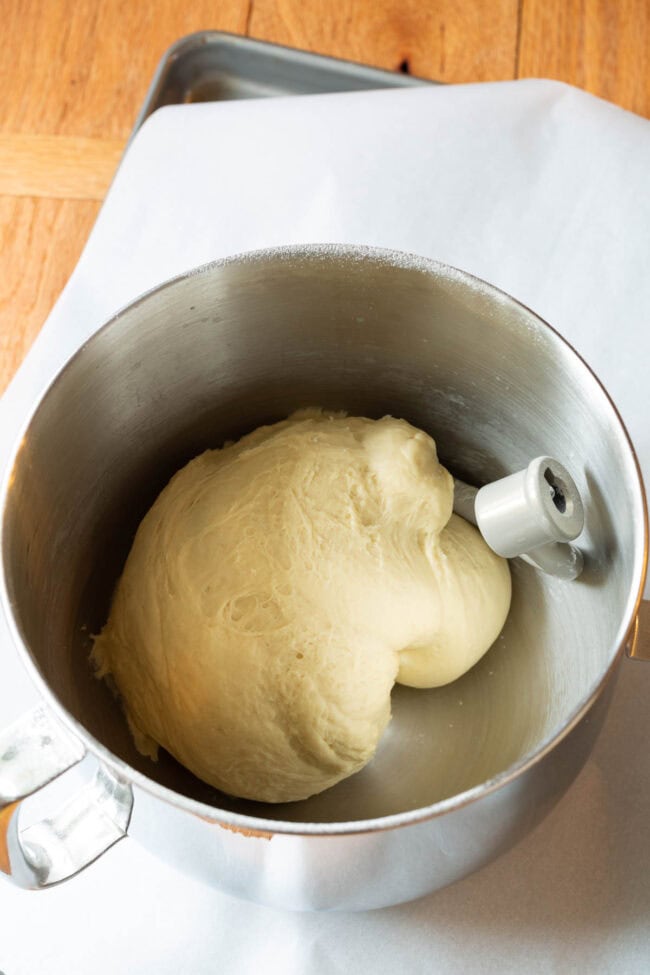
- Using the bread dough hook attachment, turn the stand mixer on low. Add 2 teaspoons salt, and the remaining 4 cups of flour. Turn the mixer up to medium-high and knead for 5 minutes. Then dump the dough out onto a lightly floured surface and cut it into 12 equal pieces with a sharp knife.
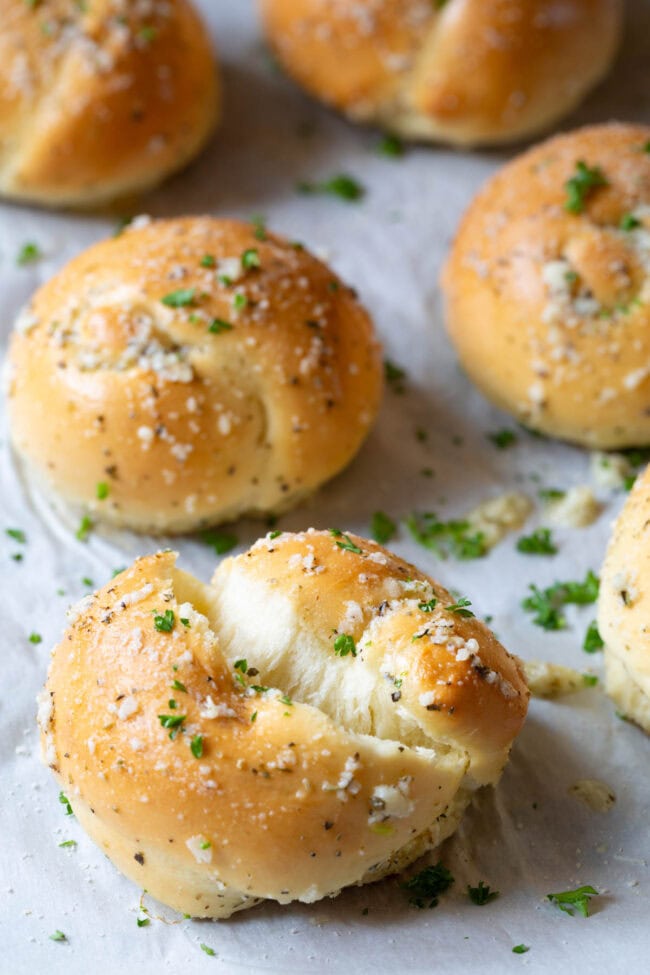
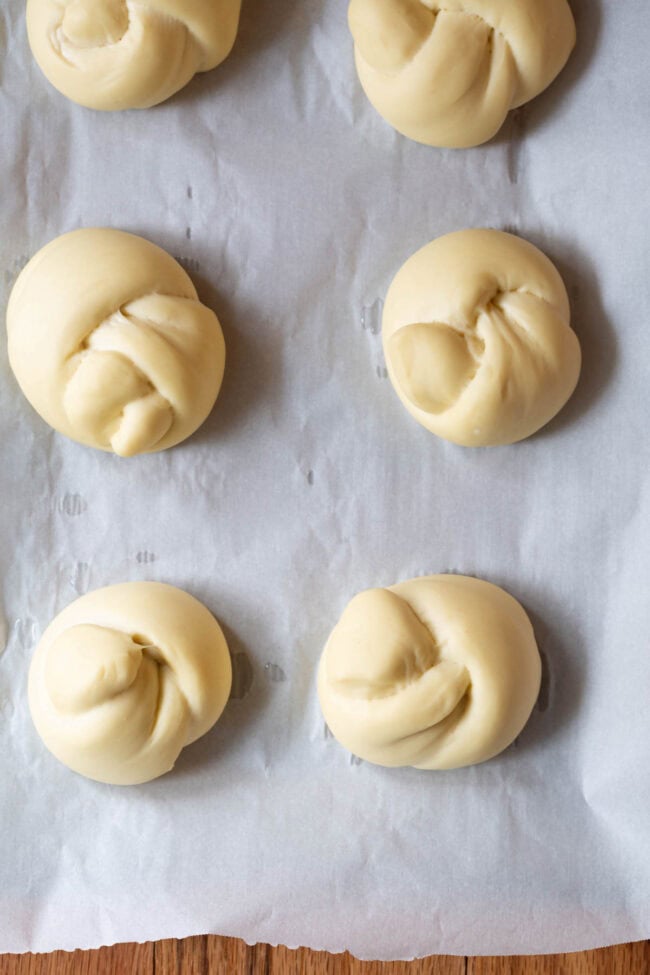
- Stretch each piece of dough out to about 6-7 inches, then tie it into a loose knot. Place the knots on the baking sheets four inches apart. Then brush them well with water, so they don’t dry out, and place them in the low-temperature oven to rise for 20 minutes.
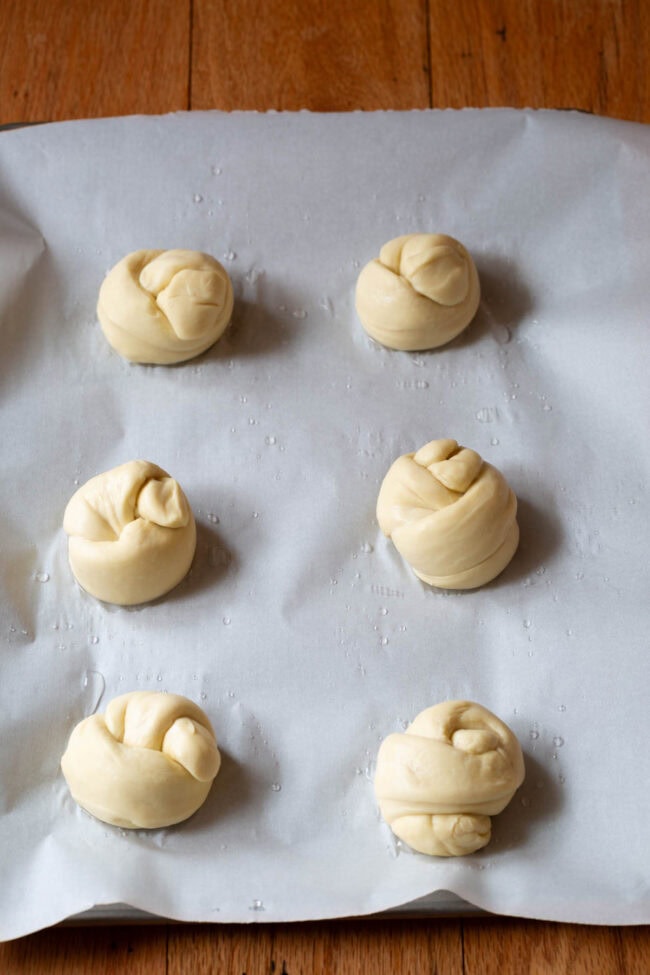
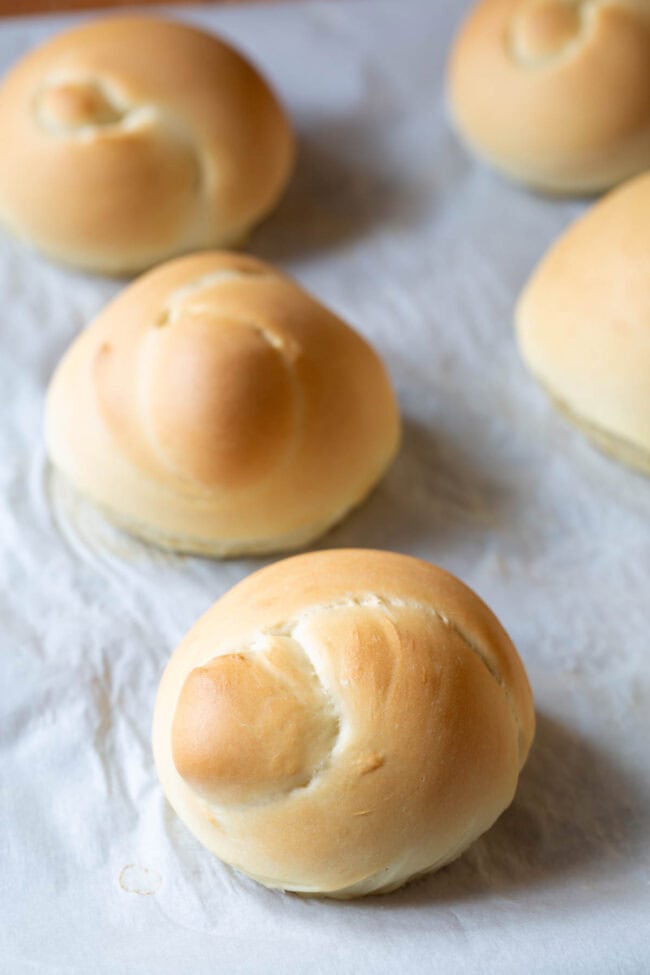
- Once the knots have expanded in the oven, remove them from the oven and raise the temperature to 375 degrees F. When the oven reaches 375, place the knots back in and bake for 15-20 minutes, until slightly golden brown.
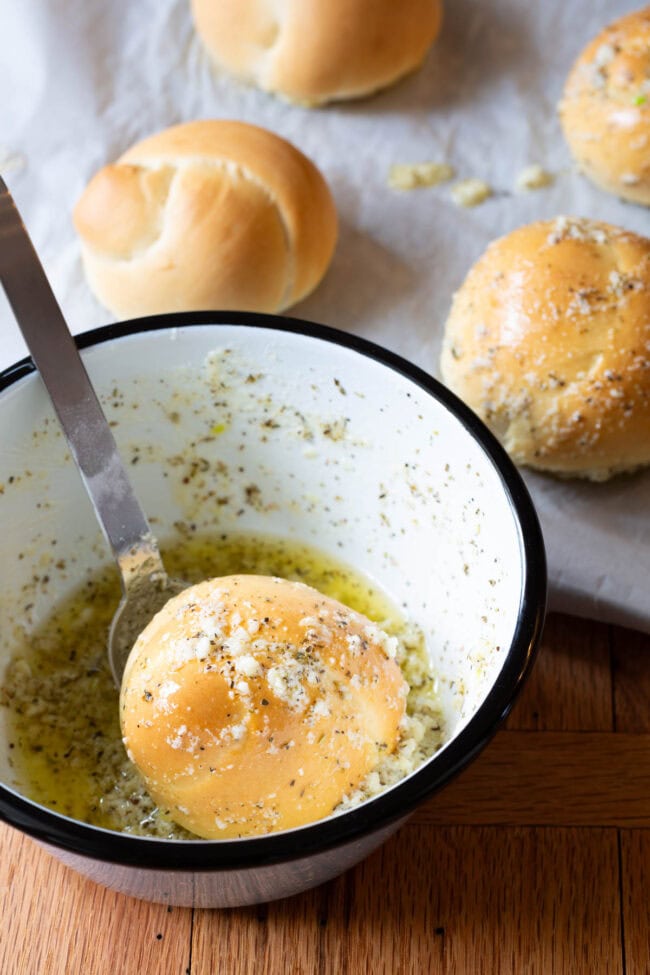
- Meanwhile, melt the remaining 1 cup butter and season with minced garlic, 1 teaspoon salt, and 1 teaspoon Italian seasoning.
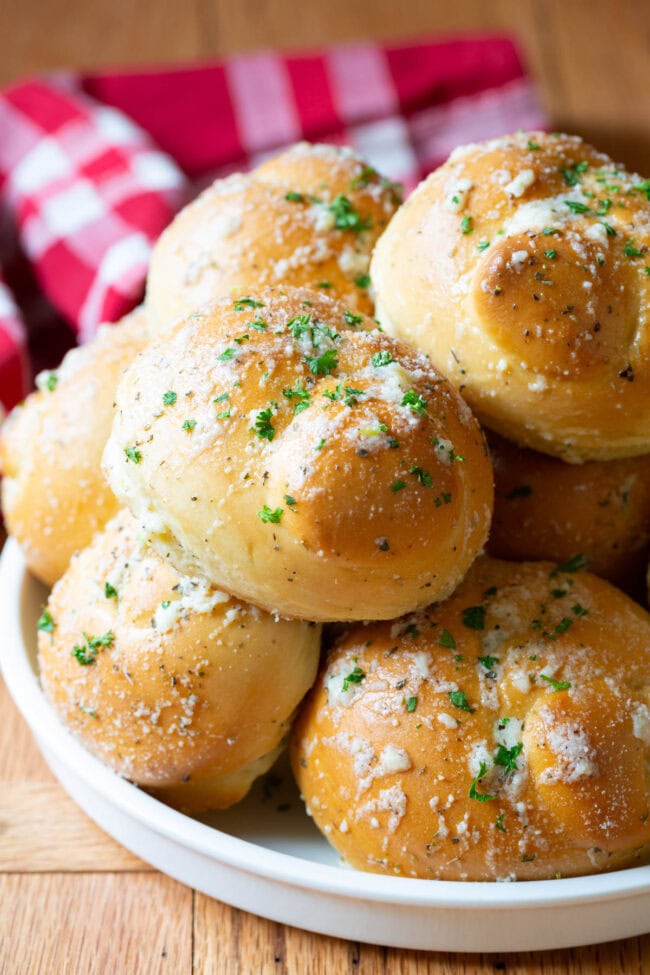
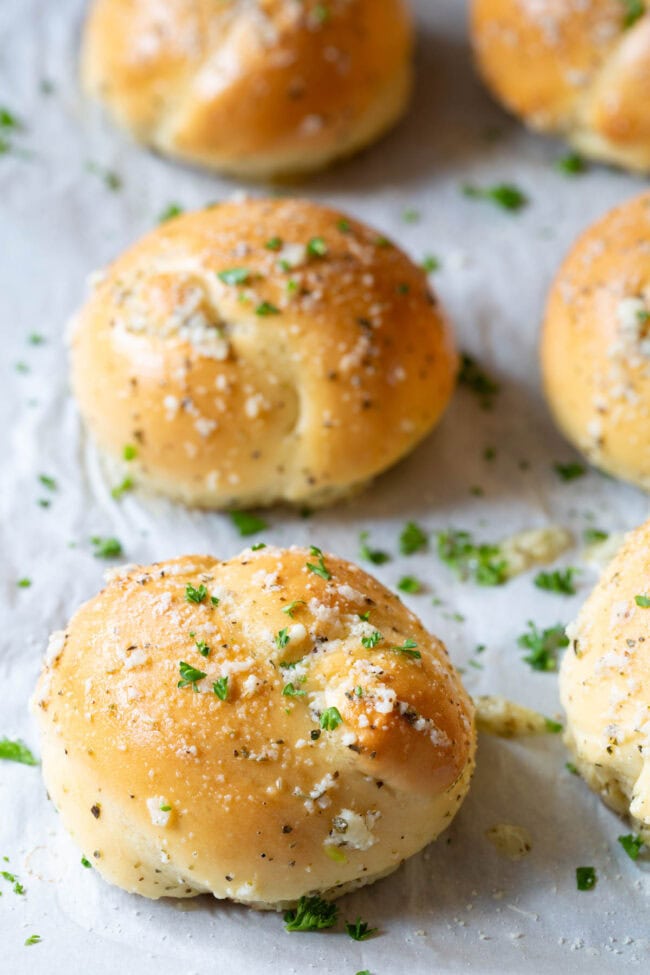
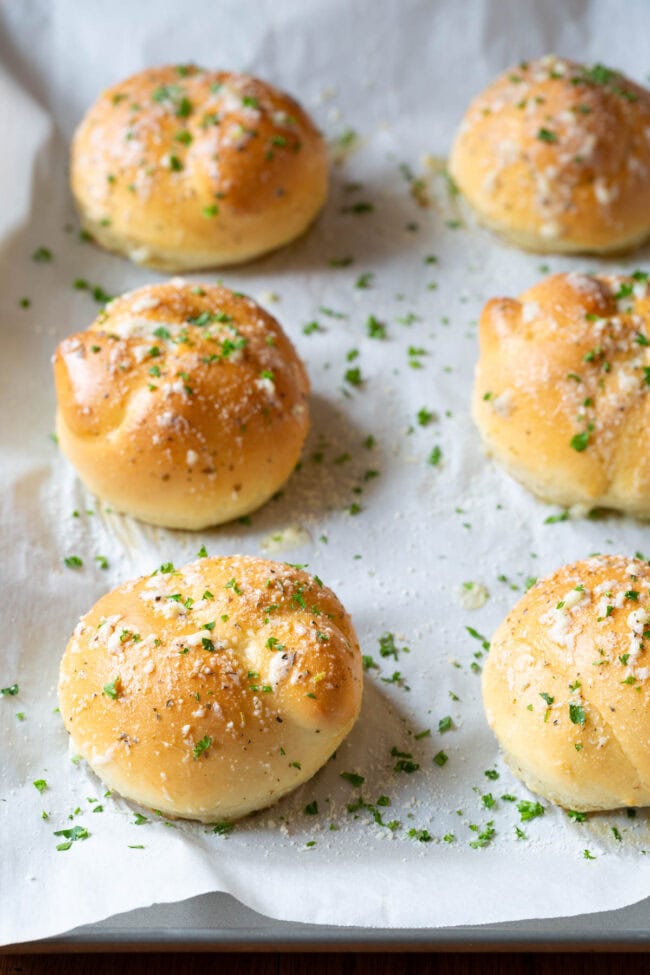
- Once the knots are out of the oven, dunk them in the melted butter mixture and turn to coat. Place them back on the baking sheets and sprinkle with Parmesan cheese and parsley.
Get the Printable Garlic Knots Recipe + Video Below. Enjoy!
Garlic Knots Tips and Tricks
- This quick-rise method works well with other small yeasty items like rolls. Particularly if the recipe is egg-free. However, I wouldn’t risk it with large loaves of bread.
- If you have double ovens, you can set one to 180 degrees F and one to 375 degrees F, for an even faster transition.
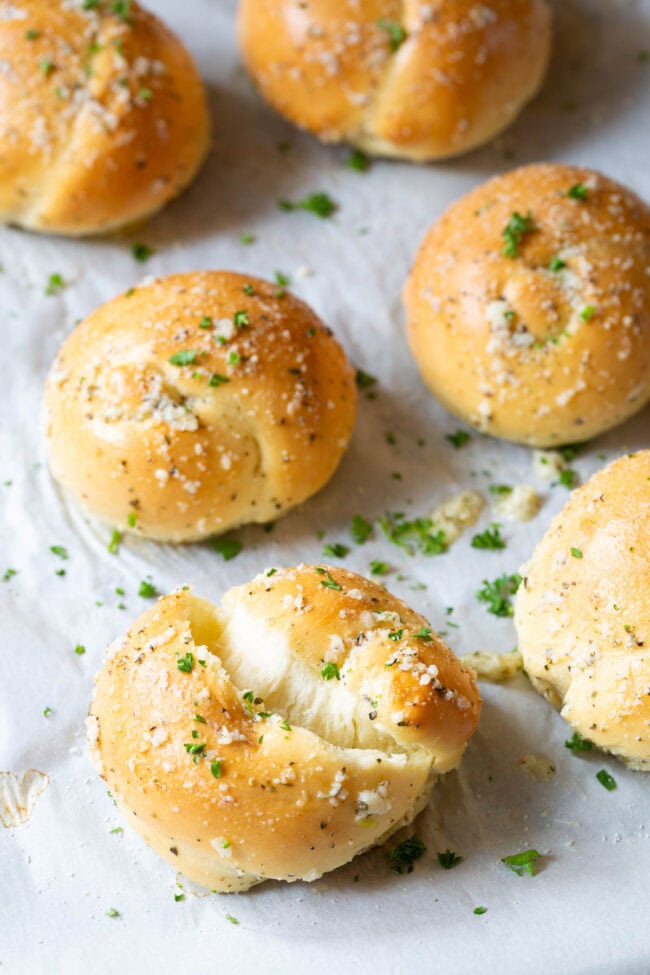
- The knotted rolls are soft and sumptuous, with a light wheaty flavor. They are pretty delicious on their own, but even better drenched in garlic butter and sprinkled with parmesan cheese.
- However, you can flavor the butter with any seasoning you like! Consider cinnamon-sugar, cajun seasoning, or lemon pepper.
- These knots make great party snacks with a side of homemade marinara sauce for dipping, and are guaranteed to be the first item on the table to disappear.
Serving Suggestions
Once the garlic knots are out of the oven, brush them with an extra layer of garlic herb butter for an irresistible shine and flavor boost. Garnish them with a sprinkle of grated Parmesan cheese, fresh chopped parsley, or even a pinch of red pepper flakes for a little kick. The warm, buttery aroma will have everyone reaching for seconds!
These garlic knots are incredibly versatile and pair perfectly with a variety of dishes. Serve them alongside a classic marinara or creamy Alfredo sauce for dipping. They also make a wonderful addition to pasta dishes like Spaghetti, Chicken Alfredo, or even a hearty Lasagna. For a lighter pairing, serve them with a fresh Caesar Salad or a bowl of comforting Tomato Basil Soup. No matter how you enjoy them, these knots are guaranteed to elevate any meal!
Frequently Asked Questions
Yes. You can use nut milk instead of cow’s milk, and you will need to replace the butter and parmesan cheese with vegan options to make it completely dairy free.
If you are only making them the night before, I wouldn’t freeze them. I would wrap the dough (or knots) well with plastic wrap and place them in the refrigerator.
You can wrap these best garlic knots well with plastic wrap and store them at room temperature for 2 to 3 days, or in the fridge for up to 1 week. You can also store them in an airtight container in the freezer for up to 3 months.
Looking for More Homemade Bread Recipes? Be Sure to Try:
Get the Printable Garlic Knots Recipe + Video Below. Enjoy!

Perfect 1-Hour Garlic Knots
Video
Ingredients
- 5 cups all-purpose flour
- 1 1/4 cups whole milk scalded
- 1 1/2 cups unsalted butter divided
- 1/4 cup granulated sugar
- 1 tablespoon dry active yeast
- 3 teaspoons sea salt divided
- 3 cloves garlic, minced
- 1 teaspoon Italian seasoning herb blend
- 1/4 cup grated Parmesan cheese
Instructions
- Preheat the oven to 180 degrees F. Line two baking sheets with parchment paper and set aside. Place the milk in a small sauce pan over high heat and bring to a boil. (You could also microwave the milk for 2-3 minutes to boil.) Pour the milk in the bowl of an electric mixer, then add 1/2 cup (1 stick) butter to the hot milk and stir until it melts. Add the sugar, 1 cup flour, and 1/2 cup ice cold water to the mixing bowl. Stir and touch the mixture for temperature. It should now be just slightly above room temperature as to not kill the yeast. Stir in the yeast and let it foam for 5 minutes.
- Using the bread hook attachment, turn the mixer on low. Add 2 teaspoons salt, and the remaining 4 cups of flour. Turn the mixer up to medium-high and knead for 5 minutes. Then dump the dough out onto a lightly floured surface and cut it into 12 equal pieces.
- Stretch each piece of dough out to about 6-7 inches, then tie into a loose knot. Place the knots on the baking sheets four inches apart. Then brush them well with water, so they don't dry out, and place them in the low-temperature oven to rise for 20 minutes.
- Once the knots have expanded in the oven, remove them from the oven and raise the temperature to 375 degrees F. When the oven reaches 375, place the knots back in and bake for 15-20 minutes, until slightly golden.
- Meanwhile, melt the remaining 1 cup butter and season with minced garlic, 1 teaspoon salt, and 1 teaspoon Italian seasoning. Once the knots are out of the oven, dunk them in the garlic butter and turn to coat. Place them back on the baking sheets and sprinkle with Parmesan cheese. (Mine have a little parsley on them as well.) Serve warm!
Can I make this with water for dairy free?
Hi Jan,
You can use nut milk, but you will still need to replace the butter and parmesan cheese with vegan options to make it completely dairy free.
Hi Sommer, I made these knots for the first time and they were absolutely amazing! Can I make some to put in the freezer? How long will they last? Thanks!
Made these for Christmas – delightful.
Left off the Parmesan because my family is weird and doesn’t like it.
I had lots of butter left over, which was perfect for pizza night a few nights later (brush on crust before baking, dip crusts and breadsticks in at the table).
I usually have a hard time making bread.
I have had several failed attempts, a few successes as well as many meh outcomes. Probably due to impatience and never watching anyone do it before….but anyways…this recipe was fast, easy to follow and delicious!! Thank you! Despite being what I consider an above average cook bread has always frustrated me and it is nice knowing I have something I can make quickly for my family that is outstanding!
This recipe is wonderful, a game changer for our family dinners! I can’t wait to try new toppings on these beautiful rolls!
Are you able to make the dough up the night before and freeze it?
Hi Summer,
If you are only making them the night before, I wouldn’t freeze them. I would just wrap them well and place them in the refrigerator. Hope this helps! :)
I have my second batch of these rolls rising within a week of finding this recipe. Big thumbs up to this one. HUGE rolls that are soft and tender. I put the garlic butter on the first batch but on the batch I’m baking now I am just going to egg wash and sprinkle with sesame seeds. That way I can put butter and jam if I desire. It is the most beautiful dough to work with, all soft and elastic. I weigh my whole batch of dough then divide by 12 so I can make sure they are all the same size. Today I didn’t have enough all-purpose flour!! so I subbed one cup of bread flour. The dough is gorgeous. These would be great for Thanksgiving, with or without the garlic butter.